FROM 2D TO 3D – HOW 3D-PRINTING IS REVOLUTIONIZING PROTOTYPING
In the beginning there is the product idea. Equipped with more or less concrete details, it will first be “put on paper.” In most cases, this task is performed by a design engineer or product designer.
The first draft is now followed by a litany of agreements and corresponding adjustments between the client and the executing agency. It can take weeks until the first prototype is ready…
Andreas Zeeh, designer at GETT, knows this tedious and sometimes nerve-racking scenario only too well. What revolutionized his work at GETT? The purchase of a 3D printer from Formlabs!

Thomas

A Brief Glimpse into the Past……
In the past, we had to take a long, complicated and often expensive route with prototypes.
That meant I had to create data sets for different suppliers. These included drawings with tolerances or inspection dimensions. The procedure was very time-consuming and led to high costs. I had to make sure that the prototype was feasible, which of course depended on the supplier’s production technology. For example, should the workpiece be milled from aluminum or the “housing” be made with joining technology? Does any external prototype manufacturer have to be consulted? …
Often a second or even third revision was then necessary.
All in all, too costly and time-consuming an undertaking.
From Idea to Prototype ... How 3D Printing Technology Helps
When realizing an HMI project, many of our customers already have a rough idea with which they approach us. For example, they give us a specific installation space, a certain design or a function. Then I’m called upon as a designer – because where there’s a designer, there’s a way.
That’s how it starts……
The process begins with a 3D CAD program on my computer. First of all, I analyze the requirements and specifications and develop a solution approach.
Based on this, I begin to implement the customer’s requirements and ideas in 3D. This is where most hurdles arise. Sometimes certain dimensions cannot be realized in the overall design, customer requirements change, or it is not clear which solution would be the best for the customer’s company.
I also have to think about how the part can later be mass-produced and – last but not least – I must not lose sight of the price. Often a compromise or a slight modification to the construction here brings clear price, quality or assembly advantages.
In the meantime, I am in close contact with project managers, quality assurance, production and of course with our customers. If a challenge or a better approach comes up, it is “off to the phone” and inform the customer. This transparent and honest communication is highly appreciated. For this purpose, 3D models are usually exchanged and the “ping-pong game” begins. This continues until all parties are satisfied with the result.
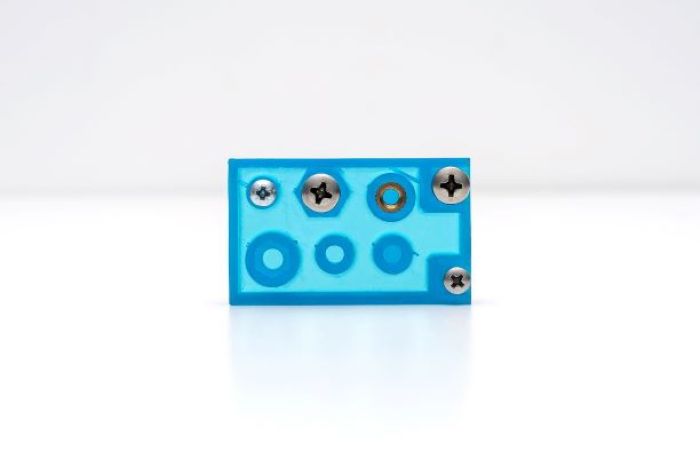
Until then, the solution has existed only “on paper,” which is not enough to evaluate it sufficiently. Therefore, it is necessary to produce first prototypes to carry out different tests on. These can be installation and assembly tests or even entire functional models.
(Almost) unlimited possibilities …
Since we bought our 3D printer, the tide has turned.
Now I can come up with a 3D concept according to the customer’s wishes and ideas. This is where I can concentrate on certain details that first have to be evaluated.
Thanks to our 3D printer, there are very few limits to what I can do. I can create multiple solutions and talk about them using parts that you can touch, not just “on paper.” I can always react quickly and flexibly to changes.
The “Hot Phase”
Once my ideas have been sufficiently well thought-through, the work really starts. I now have to modify my solution for the customer project so that it is also suitable for 3D printing.
Yes, it’s true – with this production technology you are free of forms, but not free of rules. Which material? Are there thin webs? Which is the “visible side?” Where can I place the supporting structures? …
Speaking of material… I have a wide range of suitable materials for our 3D printer from Formlabs. Currently there are more than 20 different materials available.
Depending on what the construction requires, I can choose a material that is similar to a PC/ABS (plastic for most cases, for example, for remote controls etc.) or a silicone.
Since we often use silicone switching elements, the material “Elastic”, for example, is a good alternative for a quick initial evaluation of key geometries and tactility.
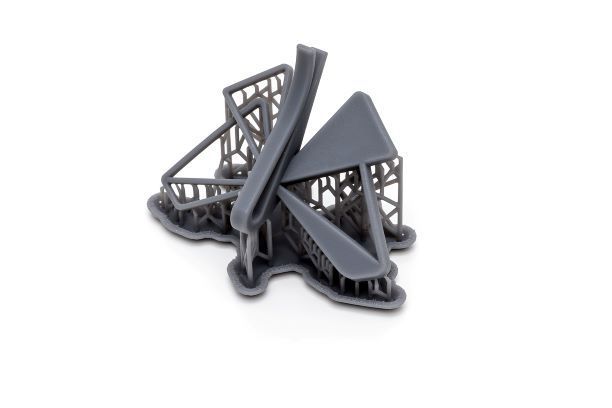
In the next step, I focus on the software. Formlabs has developed a special program that allows me to place what I created at the beginning in the CAD program on the printing platform and install the necessary support structures.
The Idea Comes to Life
Now things are getting serious! All the data are available and are now being transferred to the printer.
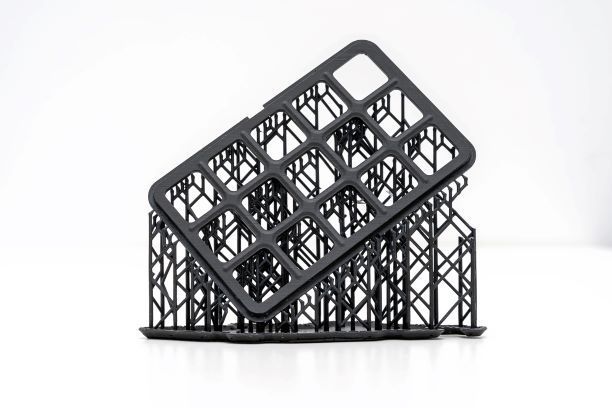
After a few hours of printing, depending on the complexity of the print, I can take the finished part out of the 3D printer. The object is now put into a so-called “washing machine.”
Now, one wonders, of course:
“What’s he doing with a washing machine in a development department?”
The „Wash“ by Formlabs is not a normal washing machine. It is filled with isopropanol and washes off the remaining material (resin). This process takes only a few minutes.
Afterwards I take the prototype and put it into the „Cure“ for a few more minutes. This is another special machine that is used to harden the material.
Finally, I carefully free the prototype from its supporting structure. It is now finished and can be used for the first time.
Never again without it!
My conclusion about the new possibilities of 3D printing is very positive.
I can now create prototypes suitable for 3D printing at a fraction of the cost and time previously required. The printed parts are suitable for evaluating different designs and certain functional tests as well as for early trial stages.
These topics could also interest you...
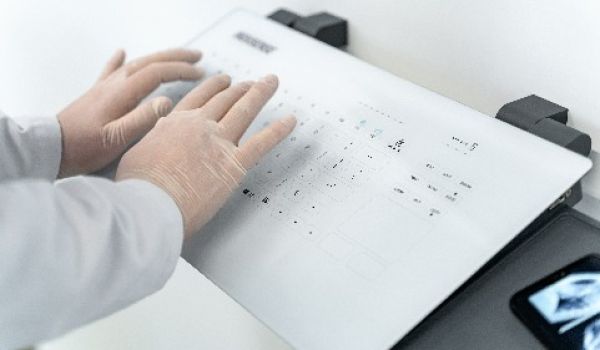
Capacitive glass operating panel

Industrial panel PC

